Introduction
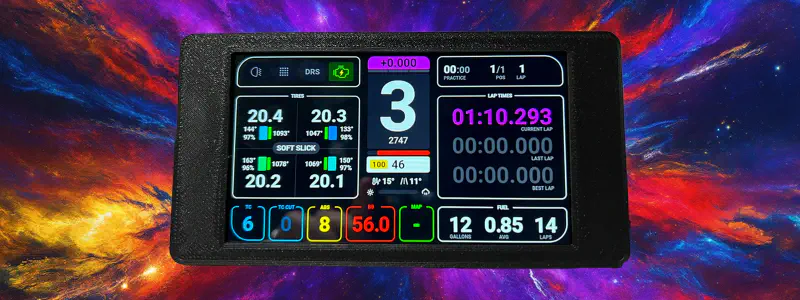
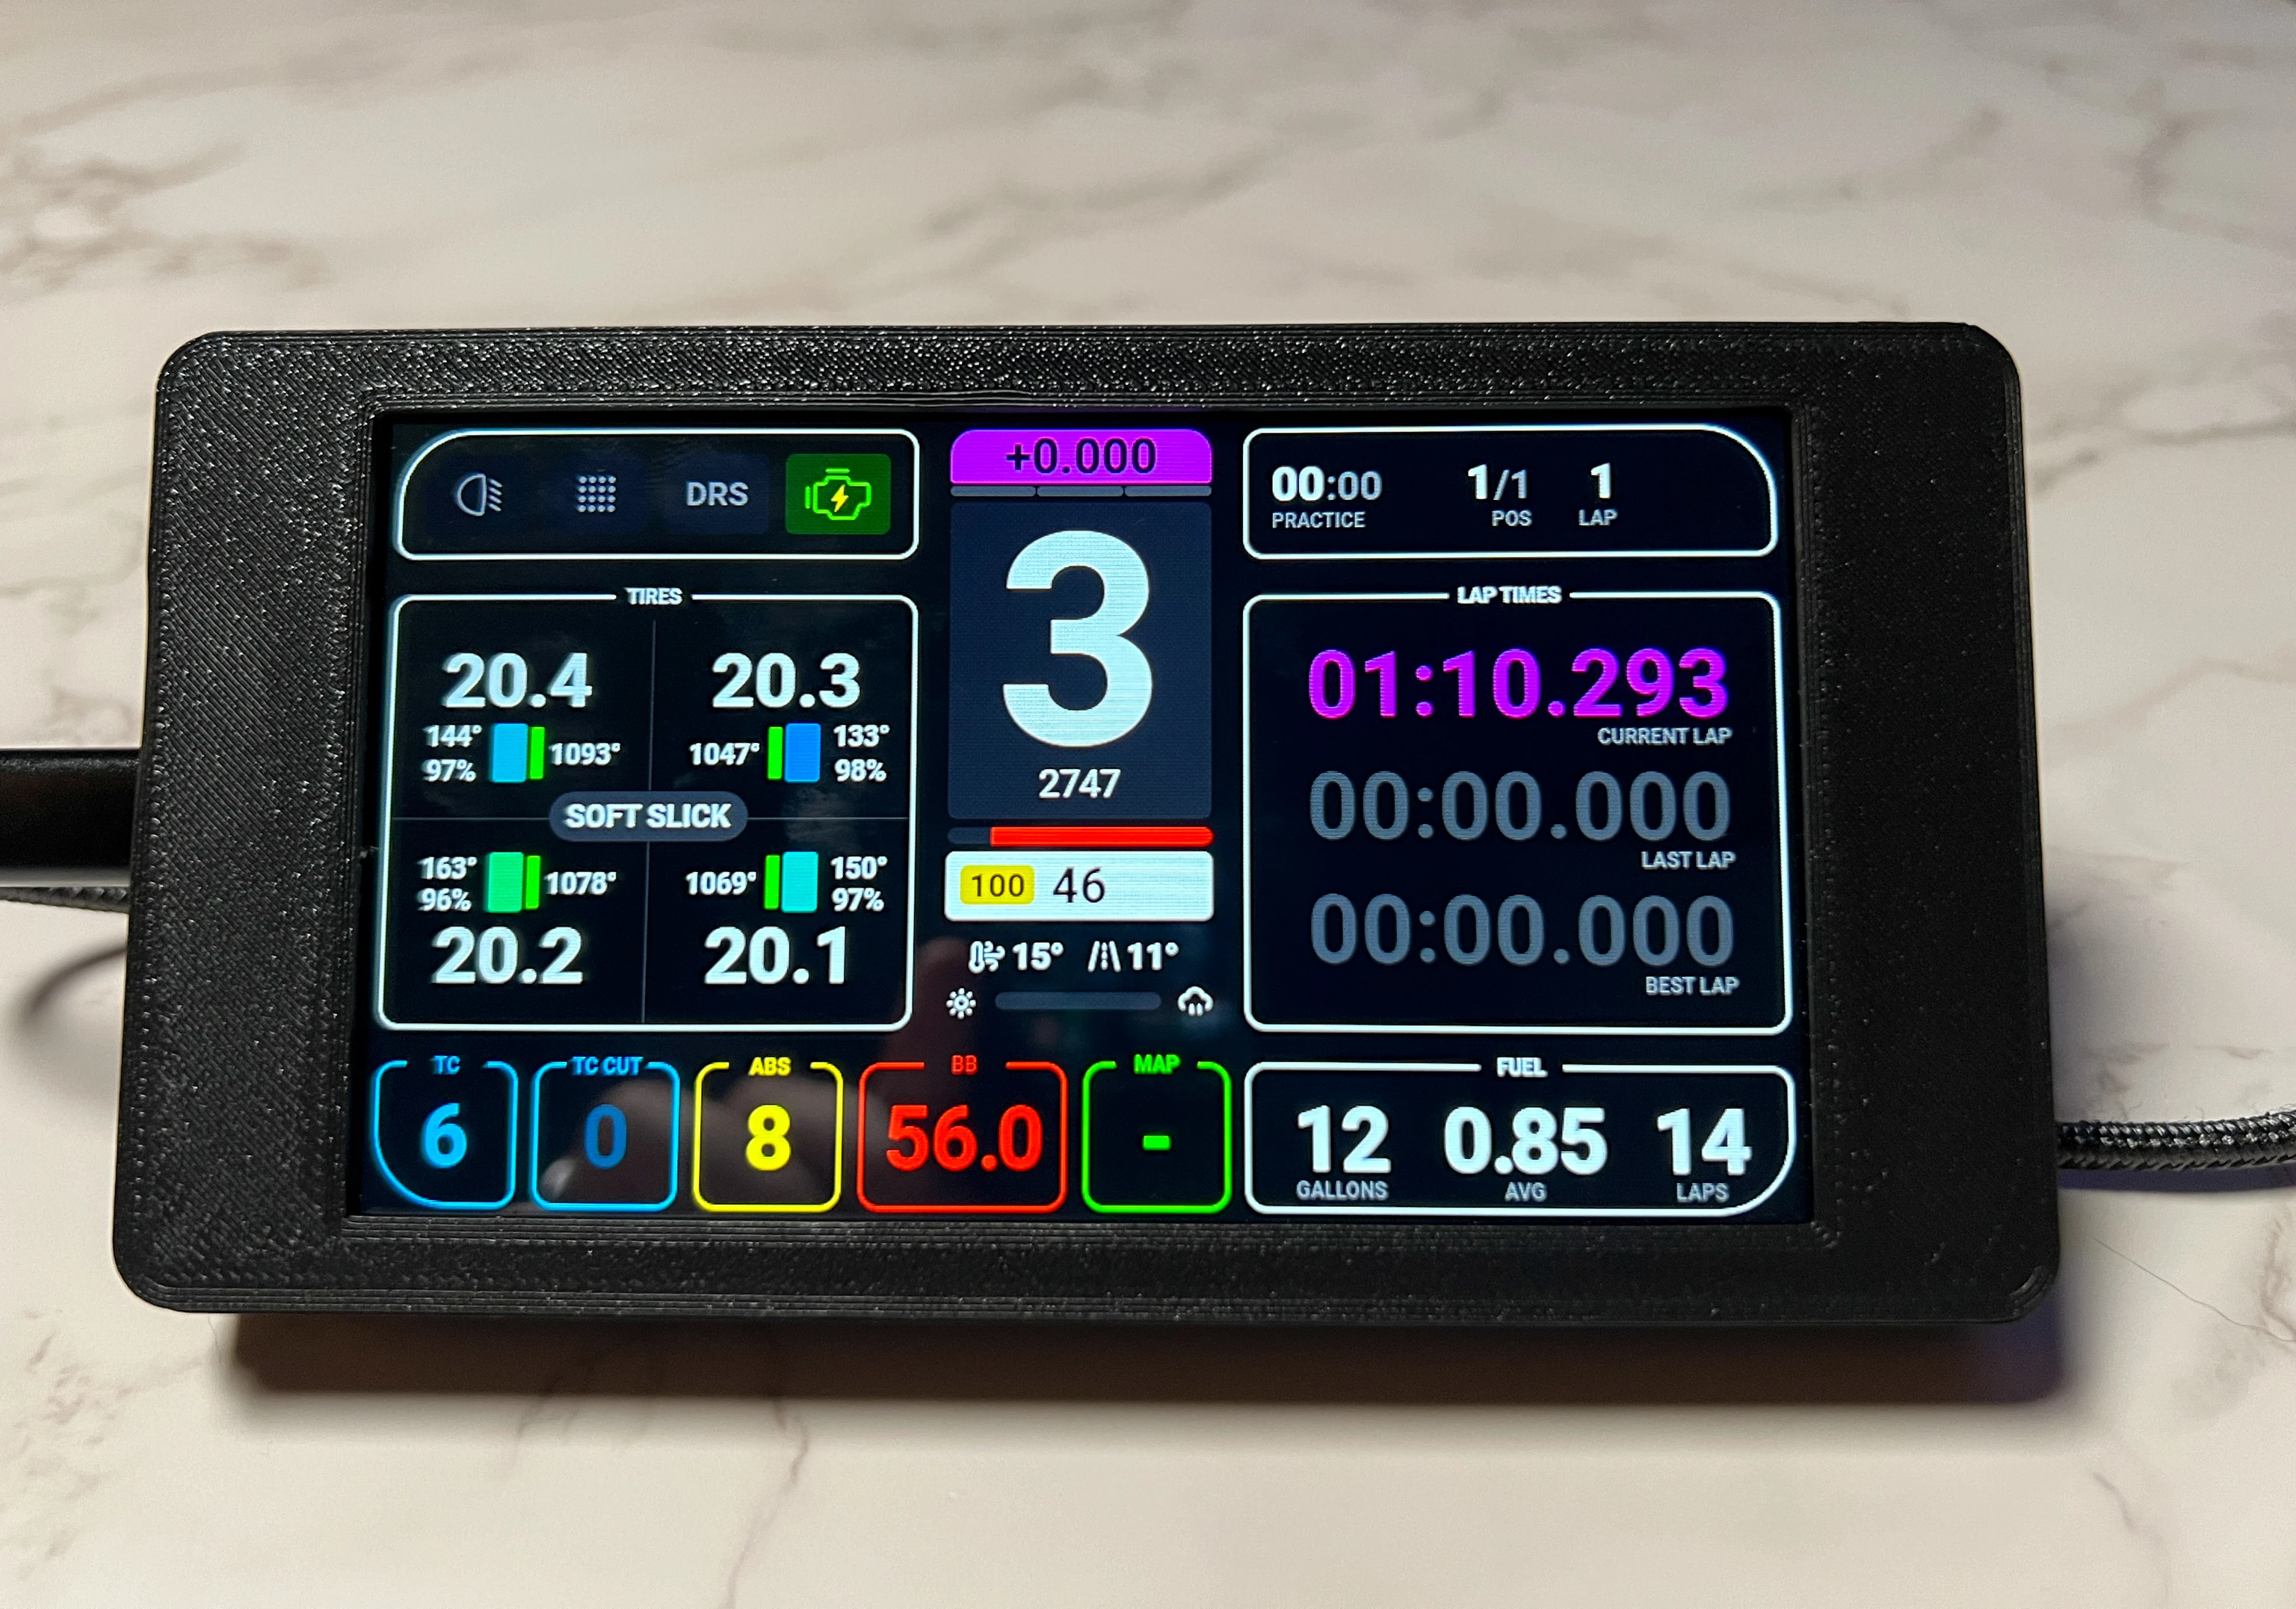
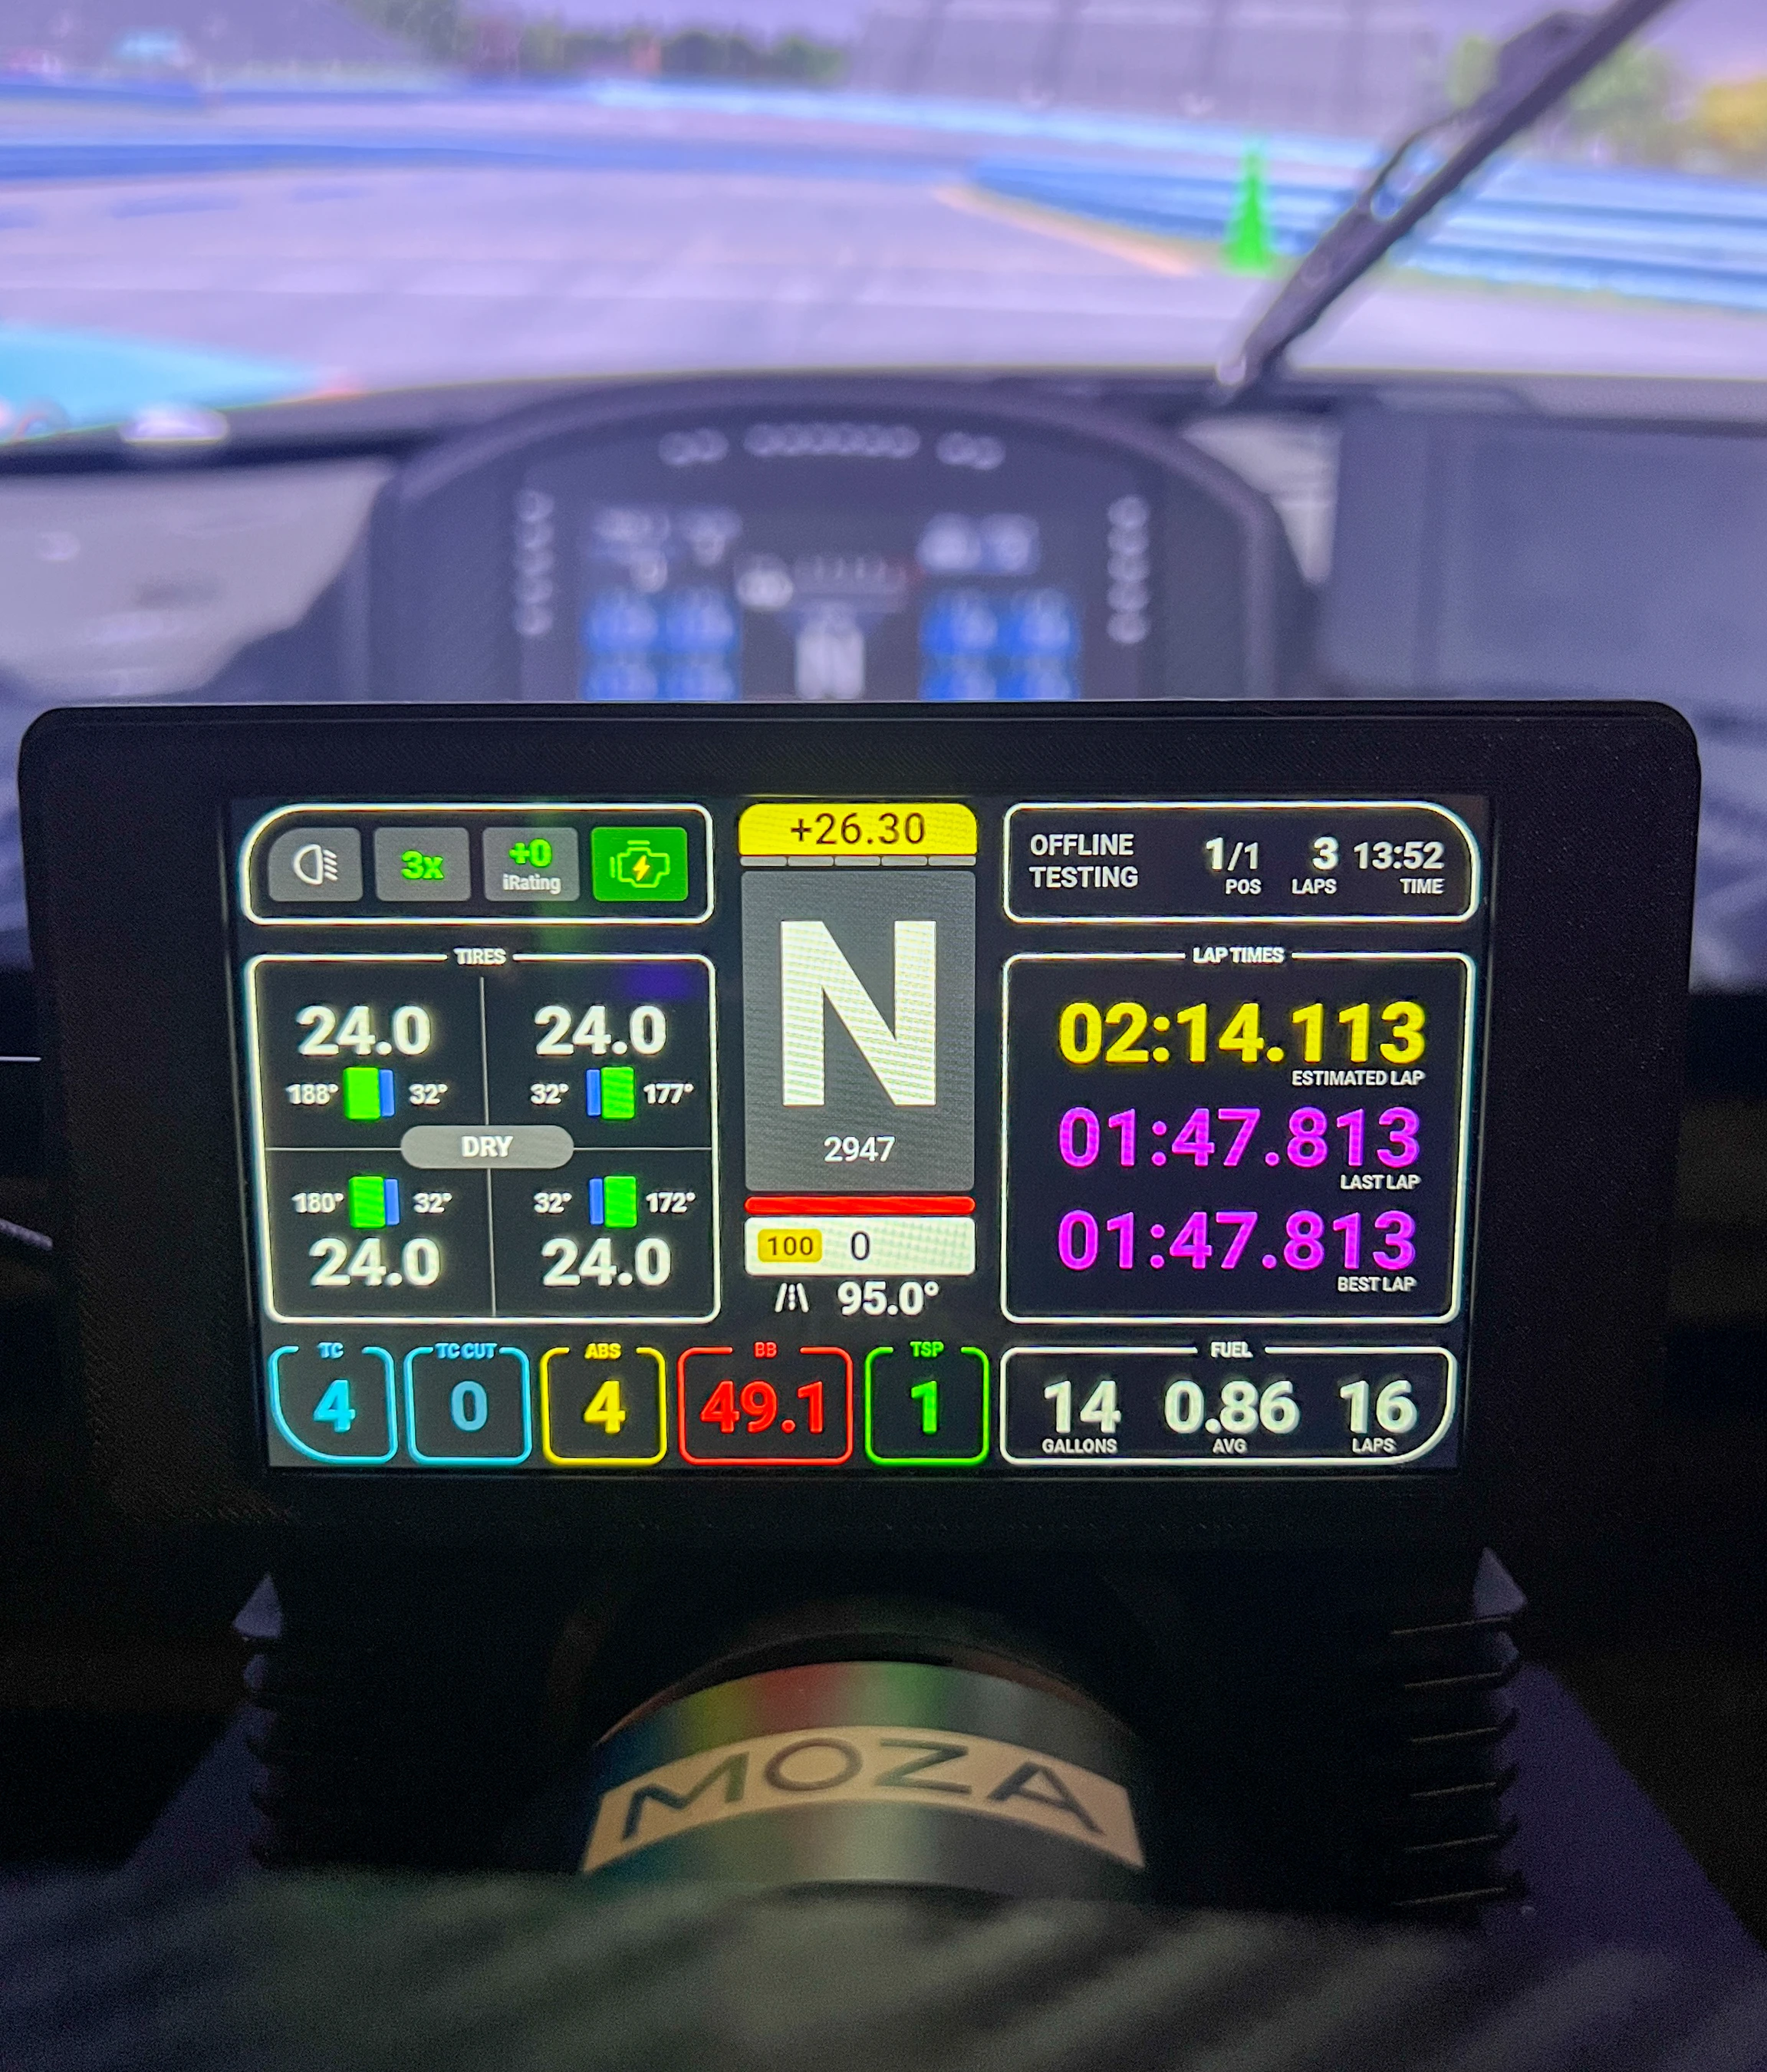
Using various electronic parts, 3D printing, and some amazing software, I have created a DDU for racing video games. A DDU is basically a digital dashboard, replacing a classic gauge cluster. This one is powered by a program called SimHub, and a special display. SimHub comes with plenty of choices for dashboards, with more available online! Lovely Dashboard used in pics.
Design
My initial screen arrived broken, but this allowed me plenty of time to perfect the design before a replacement screen arrived. This project was designed in Fusion 360, which I am a novice at. There are probably improvements I can make, and will make as more people create this design.
3D Print Files
3D print files for this project are currently hosted on Printables, Available Here
Parts List
- 1x USB C Panel Mount Cable You can use others, but the shell was designed for this specific one
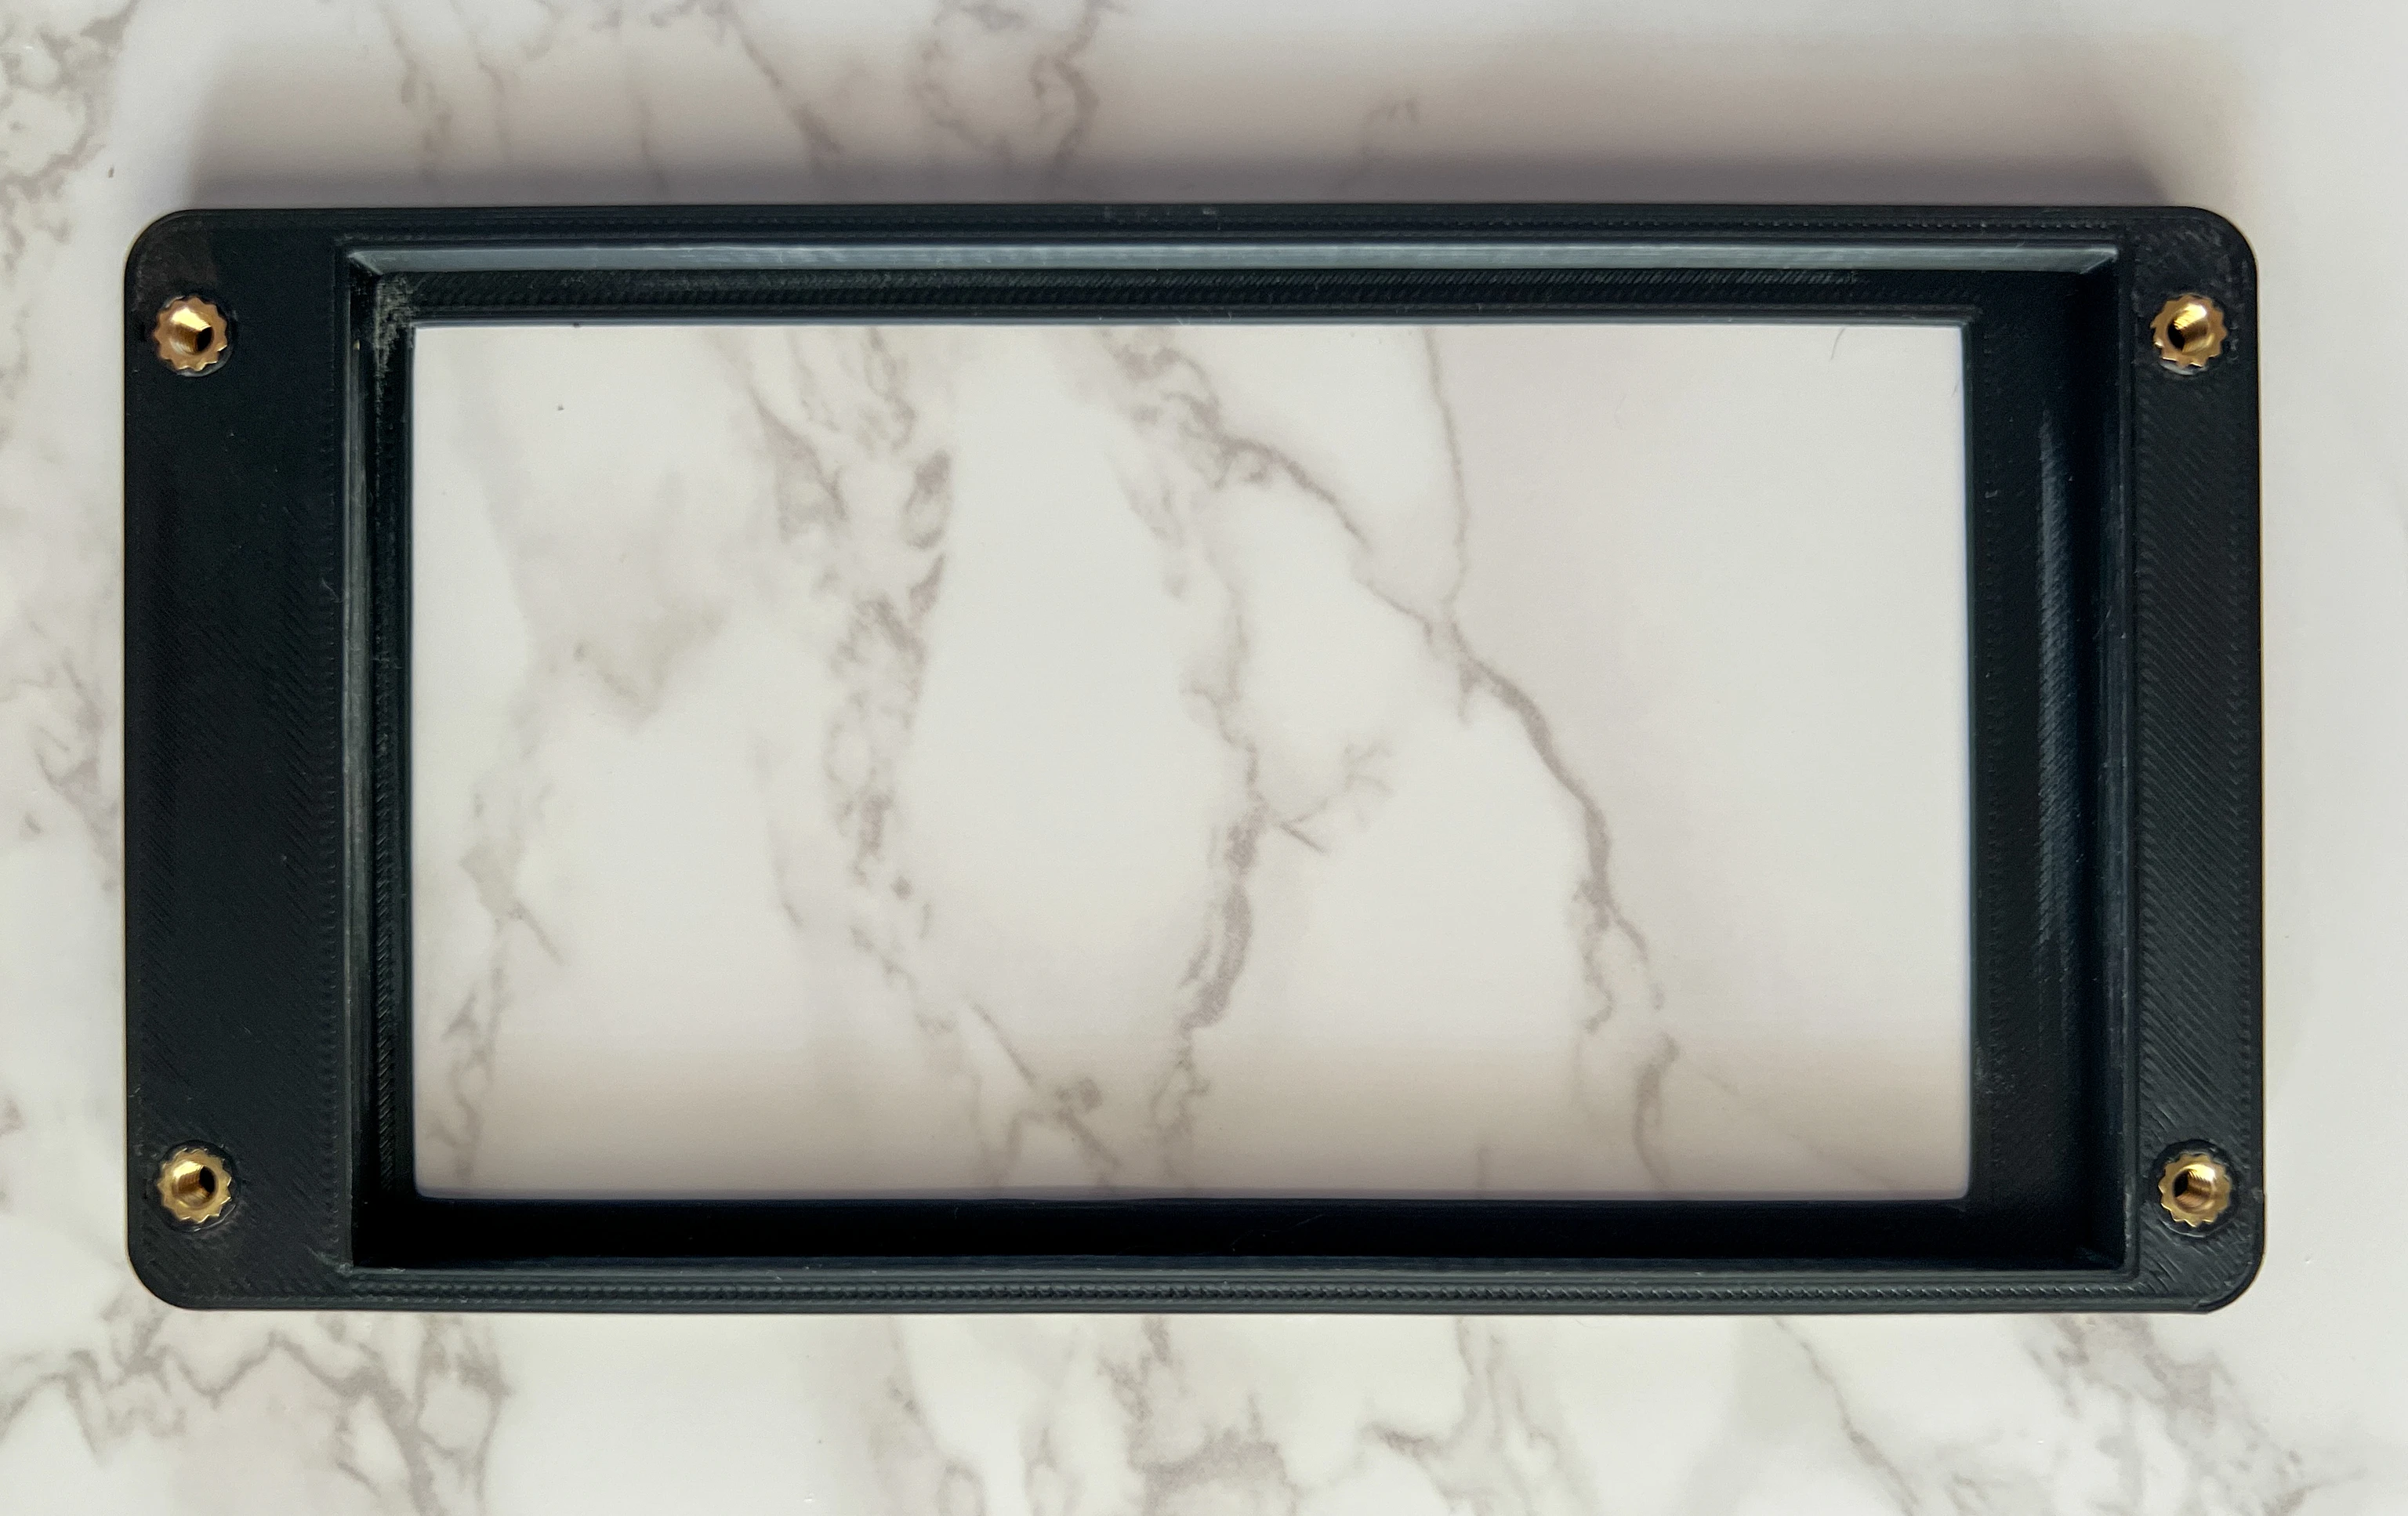
- 1x 5" Vocore Screen
- 6x M3x4x5 Threaded Inserts
- 4x M3x16mm Screws It’s hard to buy just a couple screws this small, this kit covers all needed screws
- 2x M3x10mm Screws
- 2x M3x8mm Screws
- DDU Screen Holder 3D Printed
- DDU Back Shell 3D Printed
- Wheel Base Mount 3D Printed 1 2
Build Instructions
Always melt the inserts only 90% of the way in with the soldering iron and press them the rest of the length into the part with a tool. Hold them in the final position for a few seconds until the plastic has cooled back down and solidified.3
- Take the DDU Screen Holder and insert 4 threaded inserts, one in each corner.
-
Insert the screen into the screen holder. The sides of the screen do not have the same size bezel, make sure you insert the screen the correct way.
-
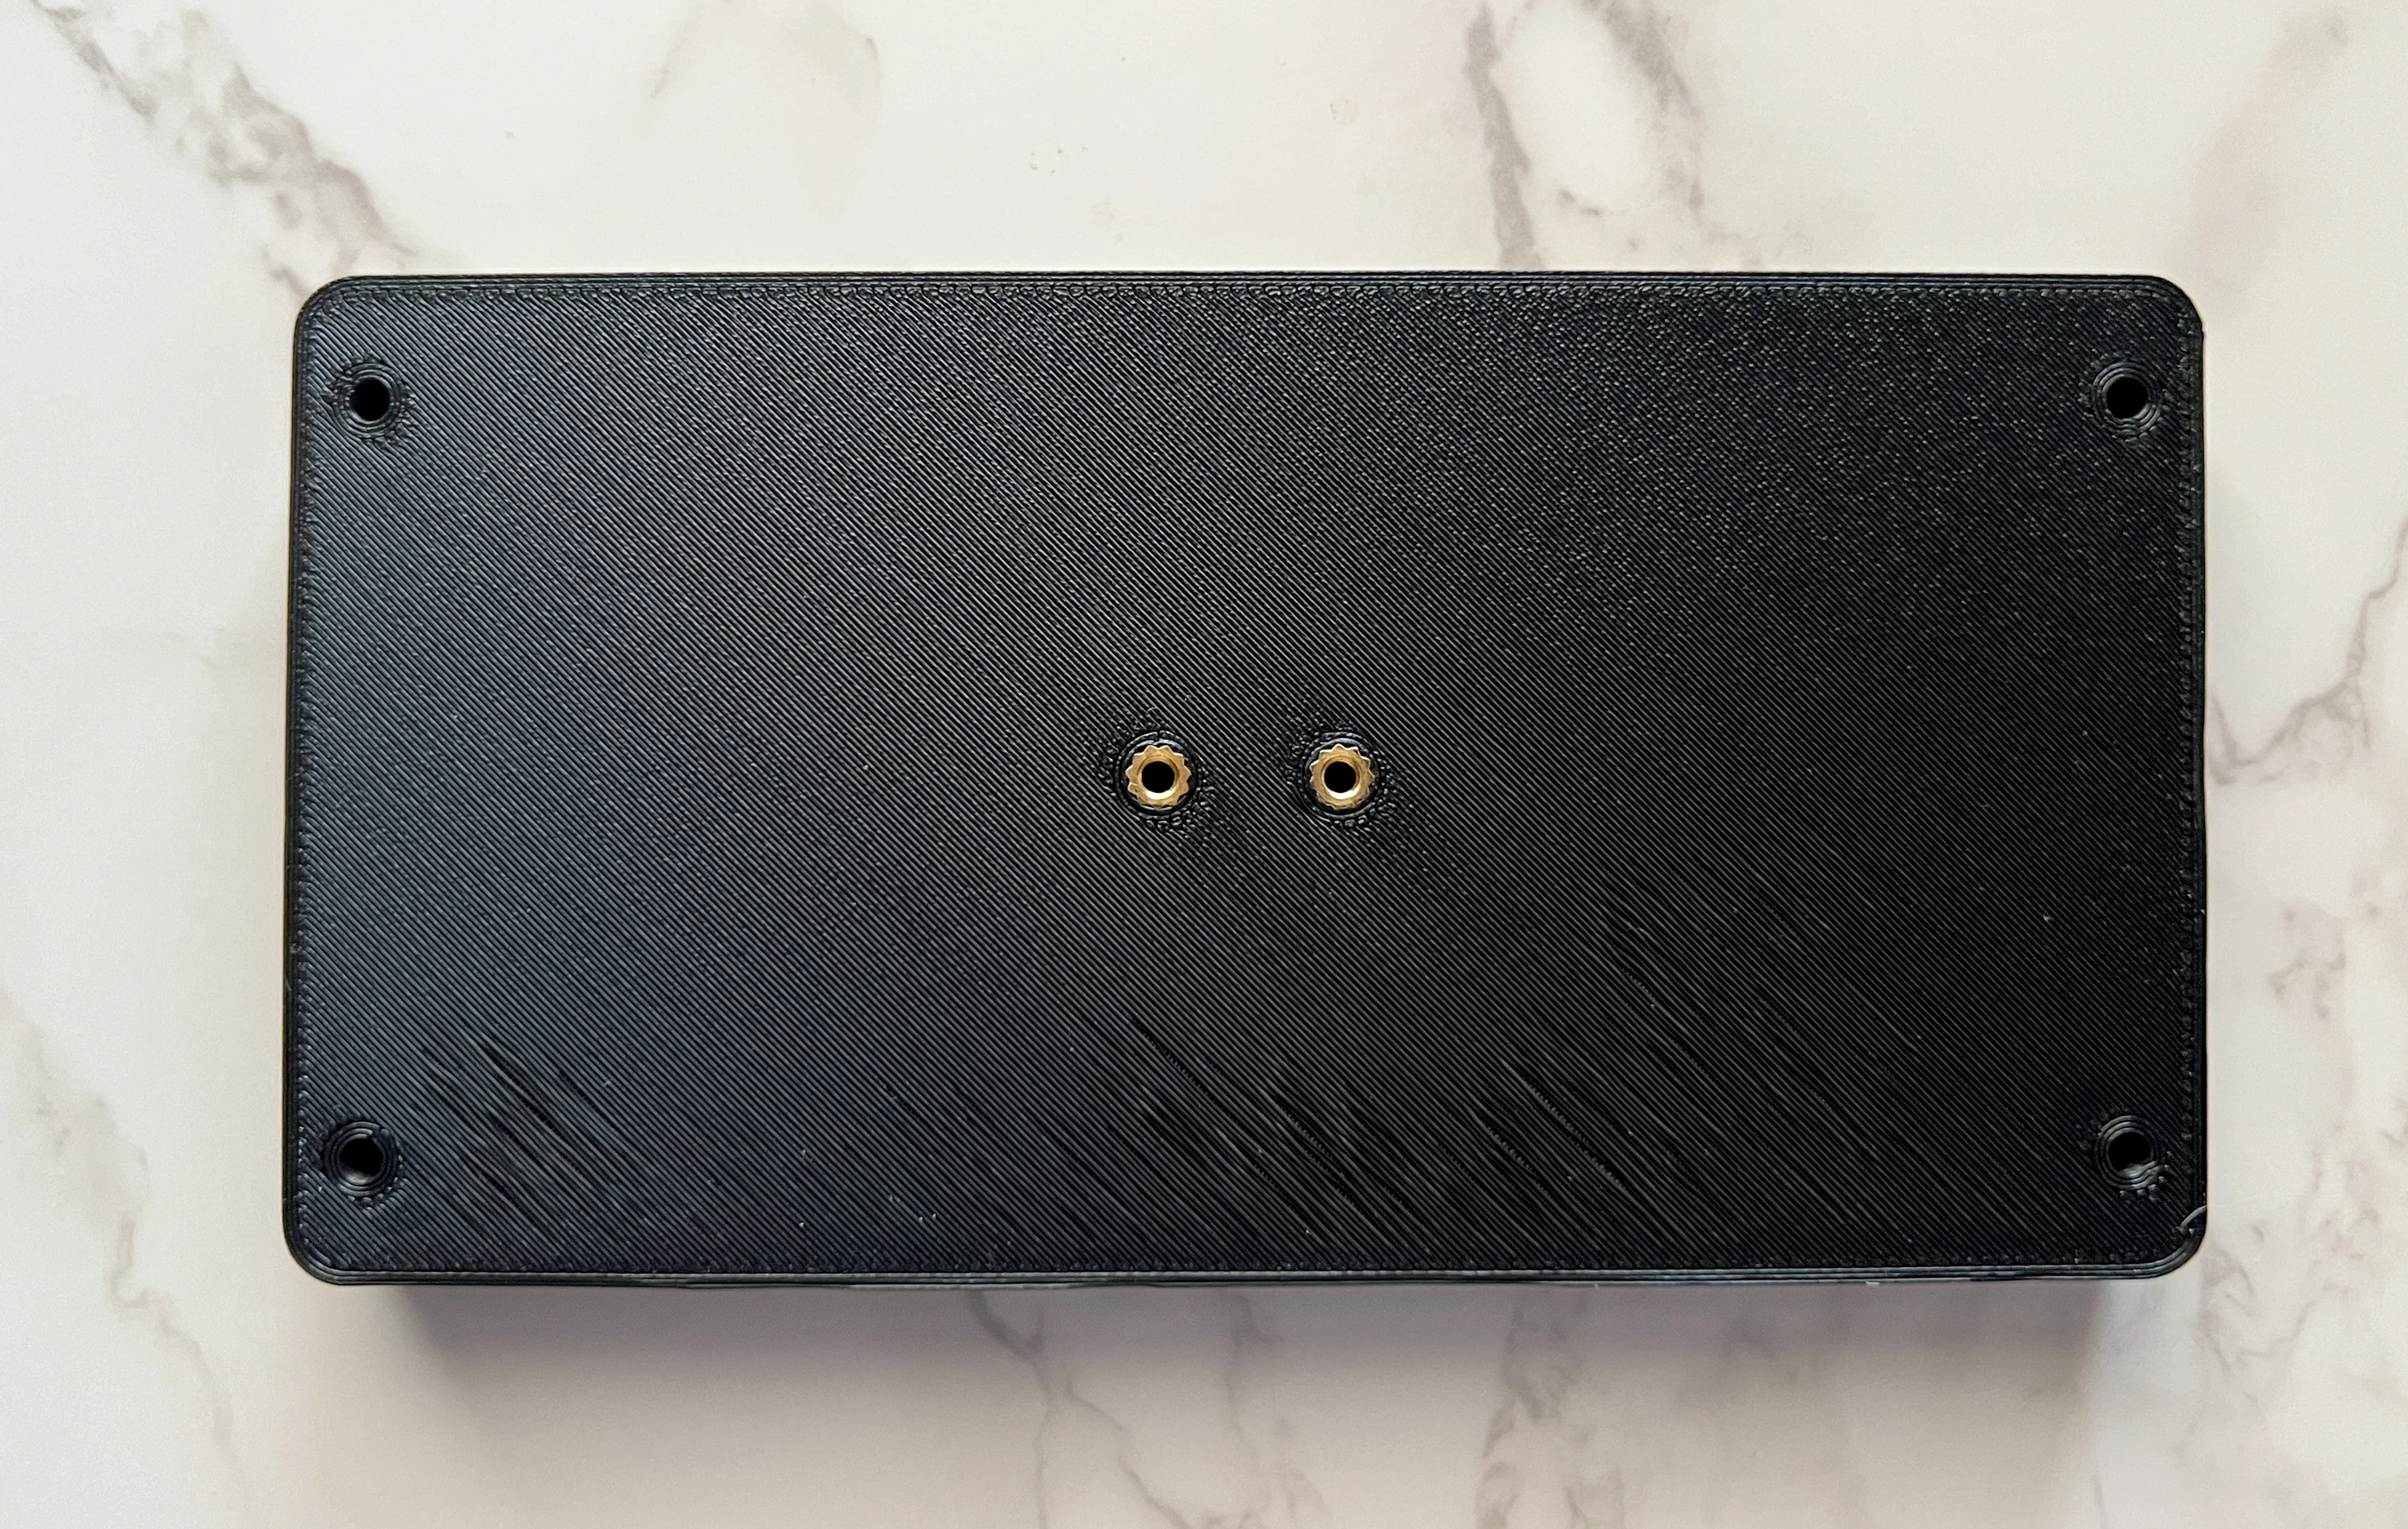
Insert 2 Threaded Inserts into the back of the Back Shell, and 4 on the inside at the corners.
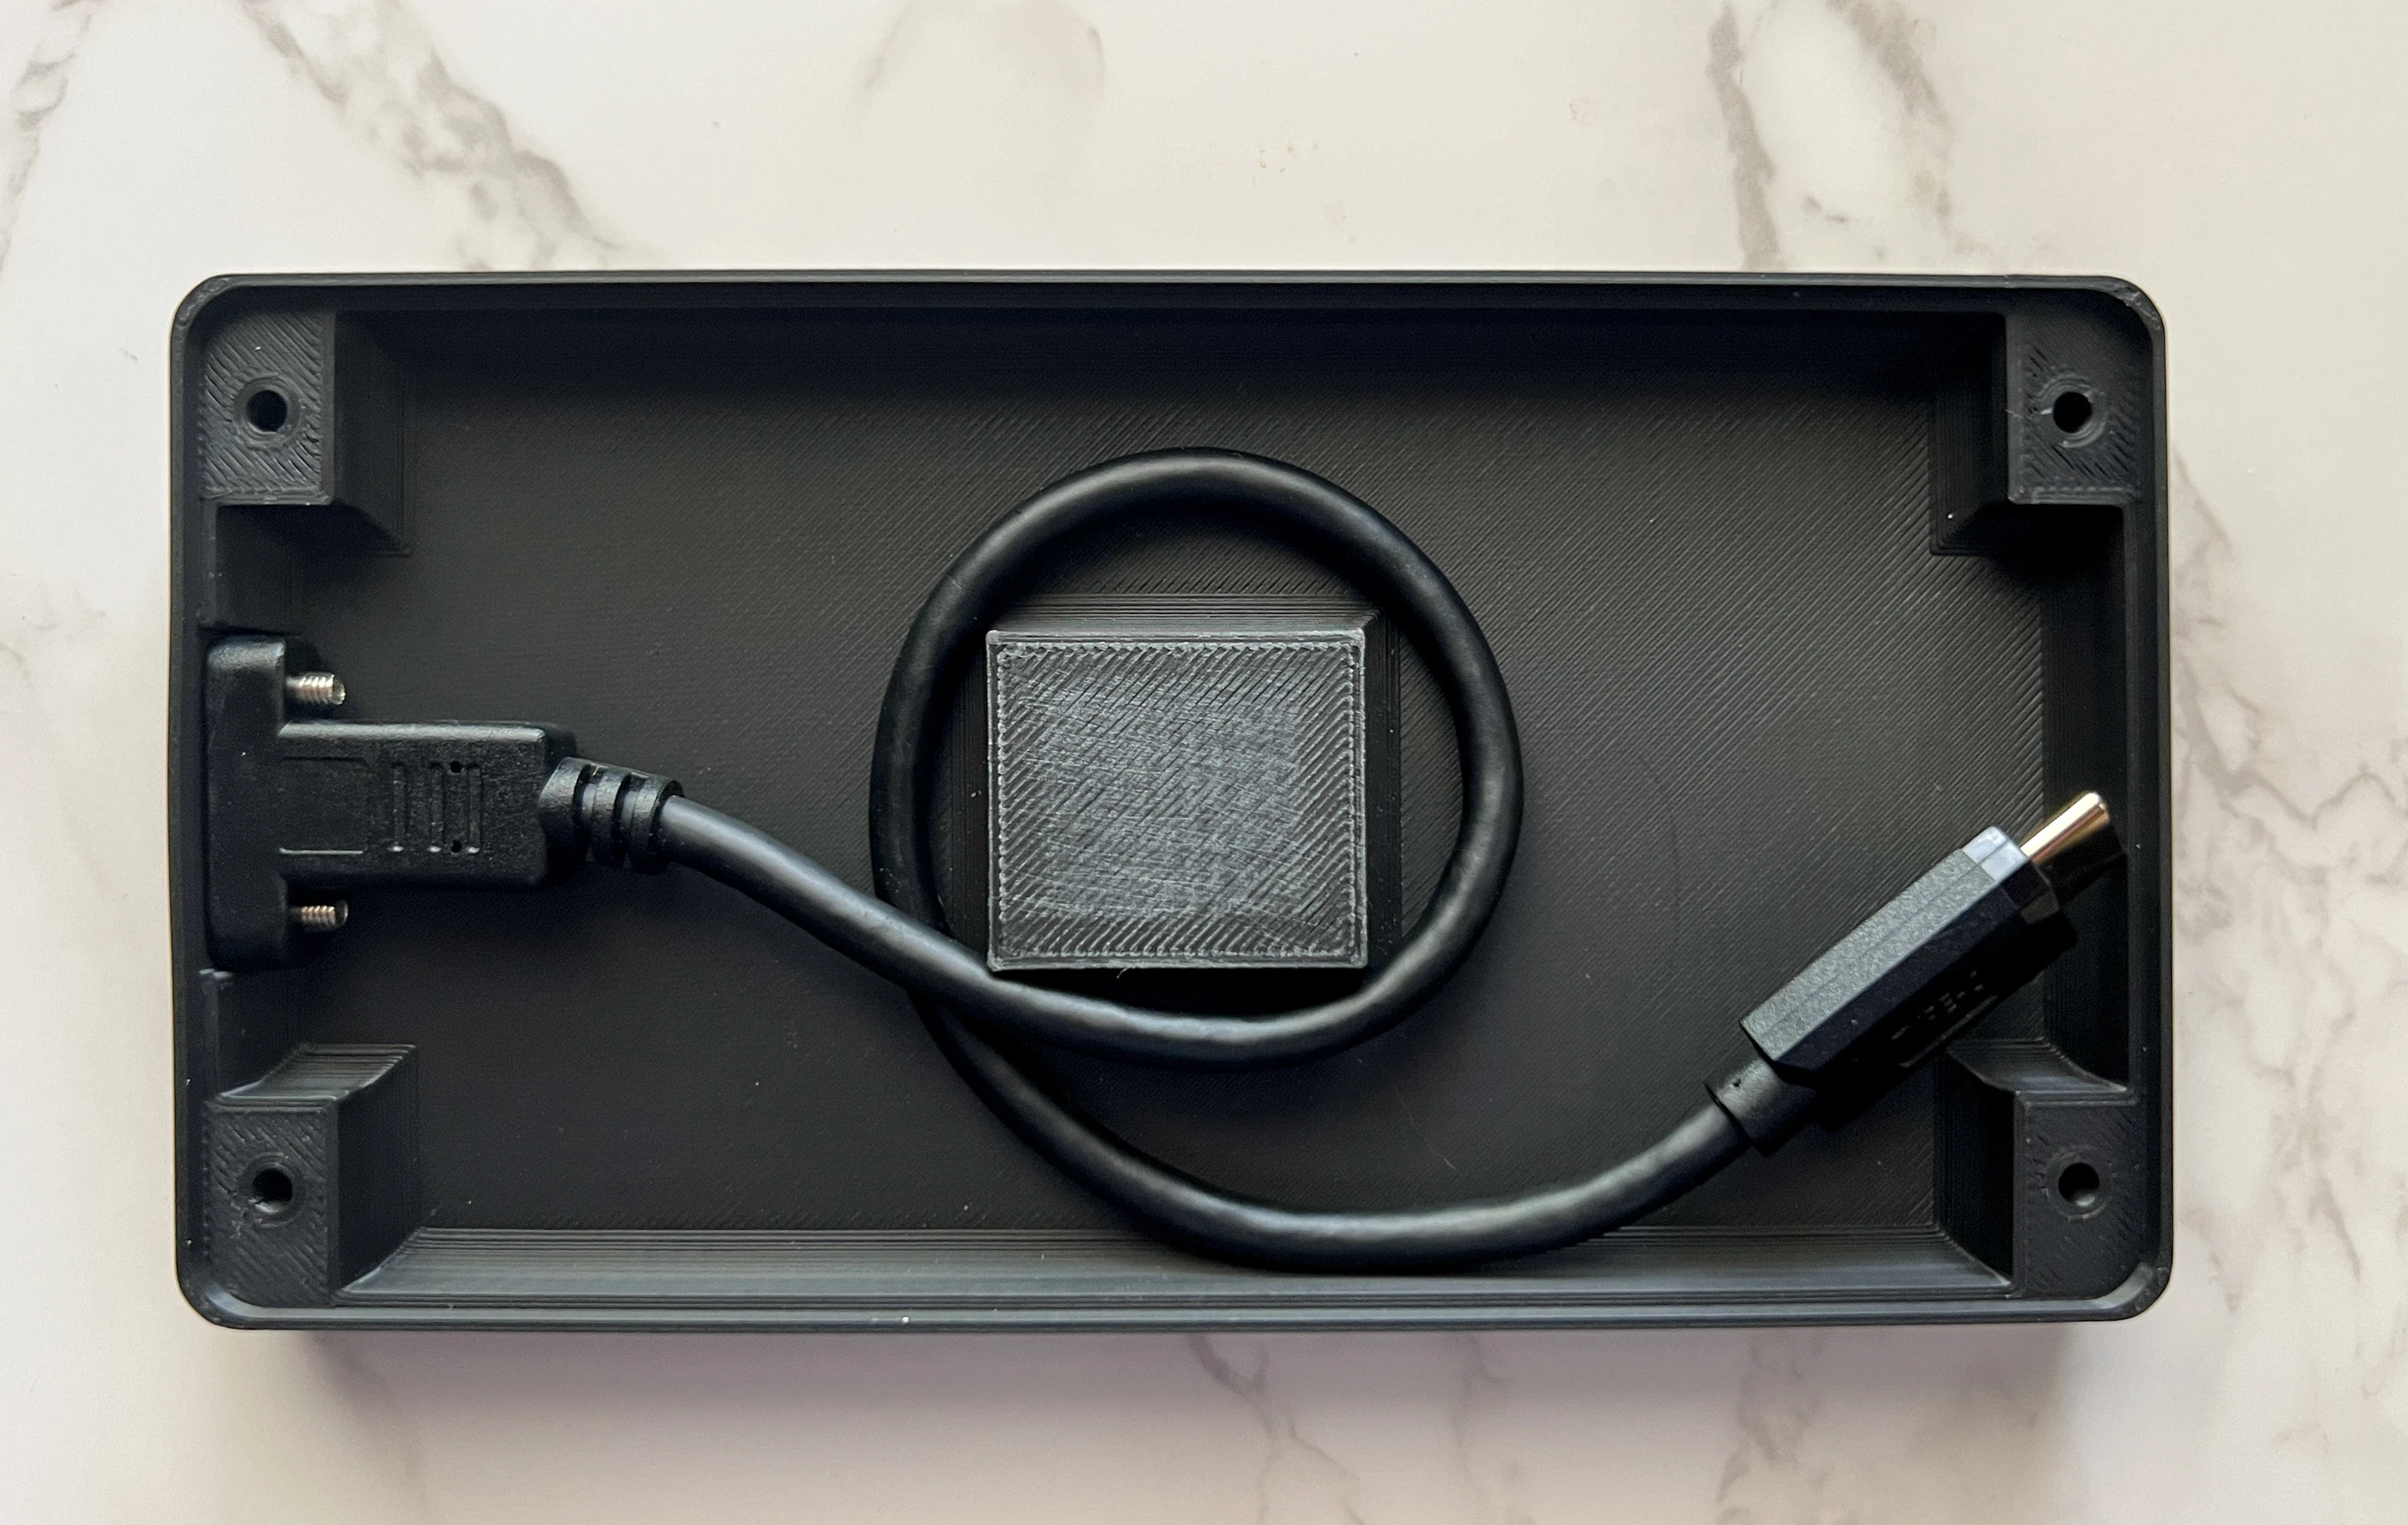
- Screw in the USB C Header and wrap the cable as shown in the picture below. I found that tucking it under itself keeps it more managed.
- Carefully connect the screen to the usb C header and then screw the screen holder into the back shell with 4x M3x16mm Screws.
- Mount the DDU to your wheel base or frame. 2x M3x8mm Screws are used to screw the wheel base mount into the shell. If using the Moza R5 mount, use the 2x M3x10mm Screws to screw the mount into the wheel base.
Software Setup
- Download and install SimHub. Getting a license is recommended as it increases the refresh rate and makes things easier.
- Setup any games you want to use with your DDU, instructions vary wildly game to game.
- Install the SimHub Vocore Driver, Available Here
- Plug in your screen
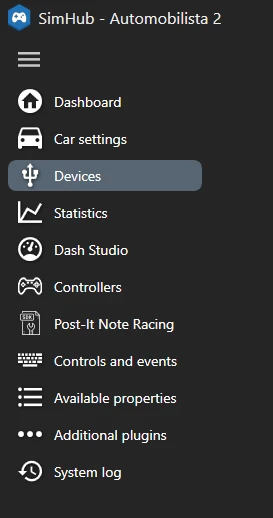
- Click
Deviceson the left side of the SimHub window
-
Click
Add new device, Scroll down the list on the left till you seeVocoreand click it. SelectGeneric Vocore Screenon the right. -
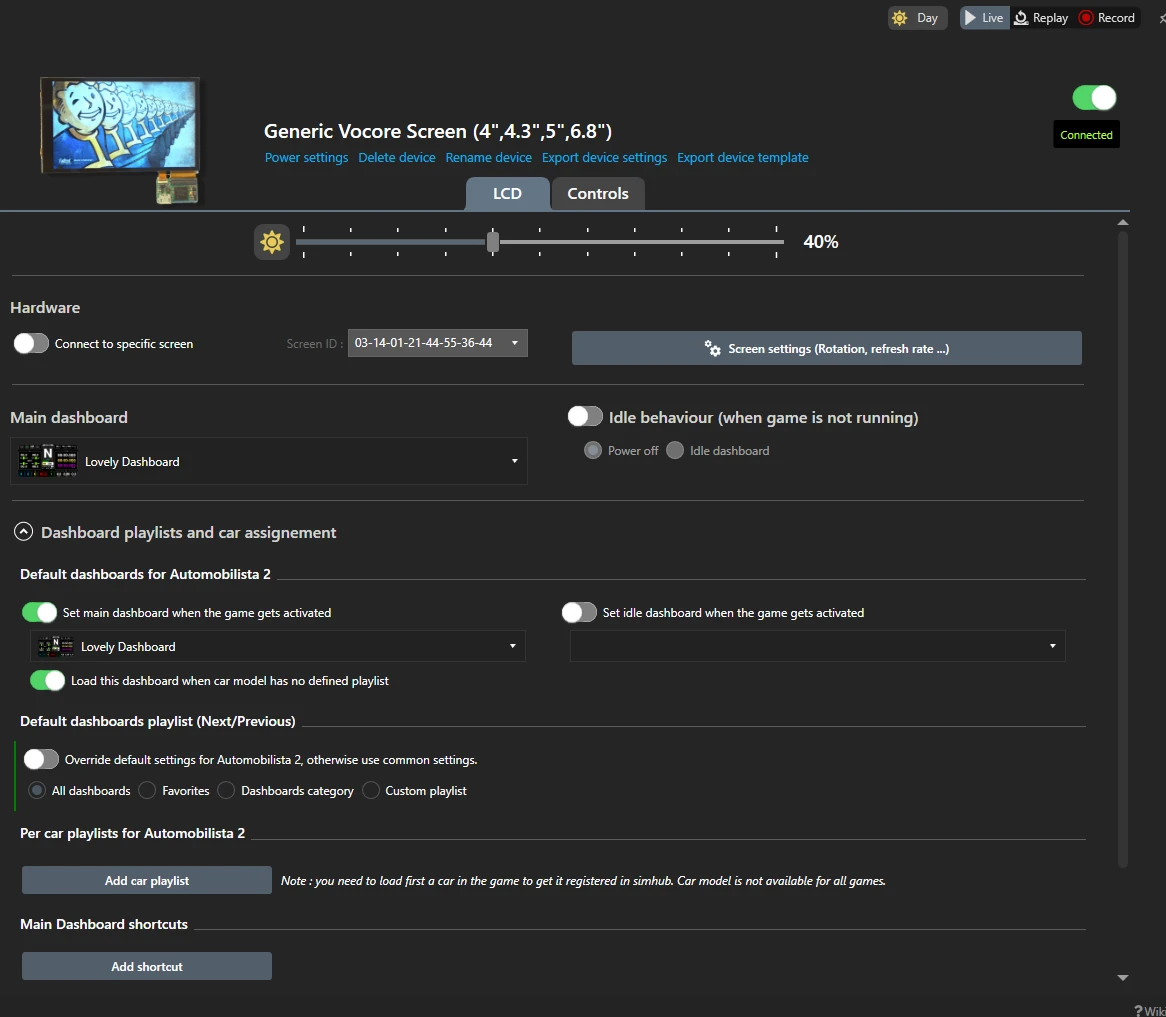
You should now see this on the right side of the window
-
You can adjust brightness at the top, if you click screen settings you can rotate the display if required. You can also set Dashboards per game here so they switch automatically. This is one of the features that requires a license
-
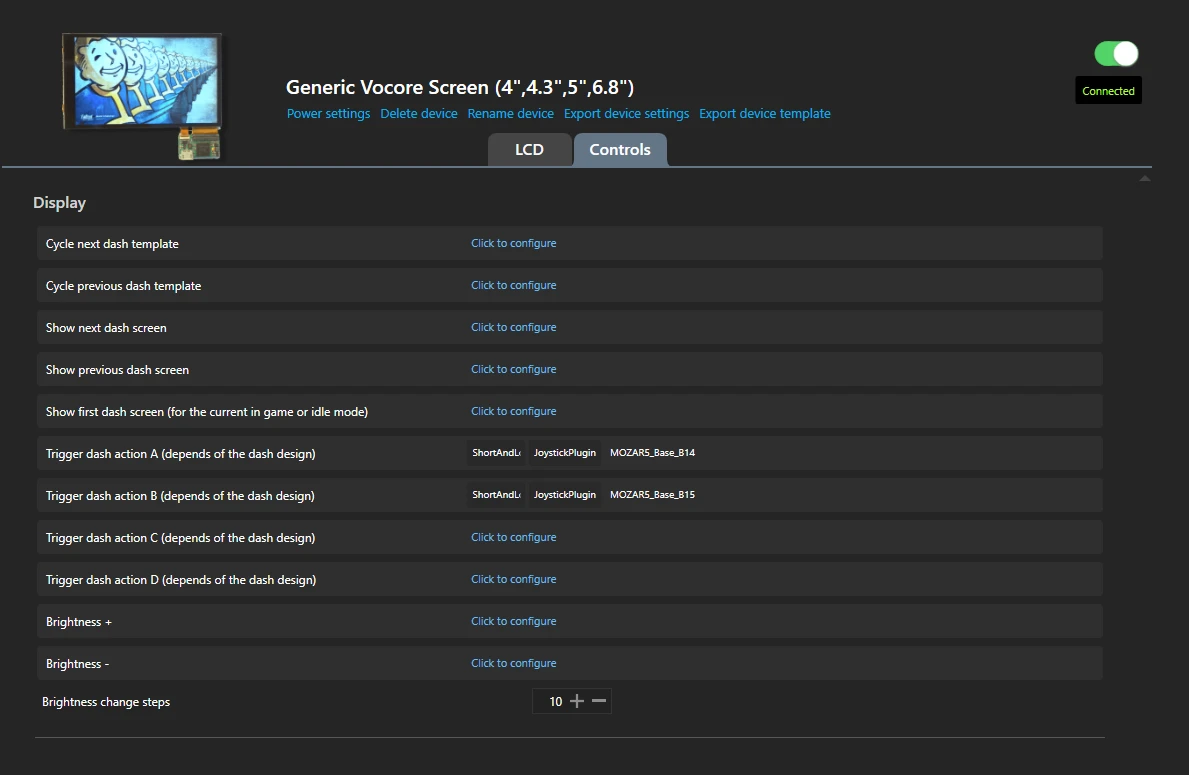
If your dashboards have actions (Like Lovely Dashboard), you need to click the Controls tab at the top to bind them. Lovely Dashboard uses at least Action A and Action B. You can also control Brightness with keys, if you change it often.
Recommended Dashboard
I have tried a lot of different dashboards, and even created my own for Forza Horizon 5. Lovely Dashboard is better than all of them in my opinion. It supports all the big games, works great, and looks beautiful. It is free, but there is a premium option available and is what I use. More Info on premium here.
-
If a mount for your wheel base does not exist, it will need to be created. The Printables listing includes a sketch of the dimensions of the holes needed to secure to the DDU shell. If you have trouble or need help, feel free to reach out to me! ↩︎
-
Depending on your wheel base, you might not need the 8mm or 10mm screws. ↩︎