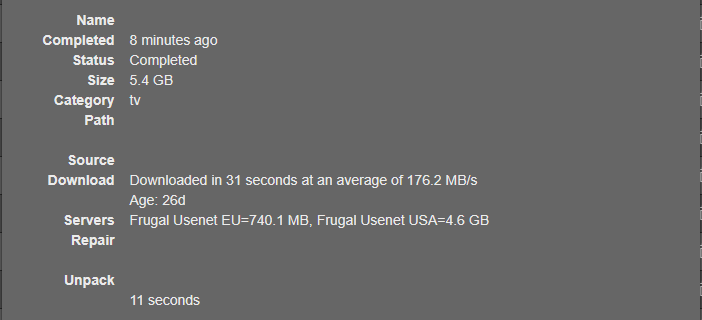
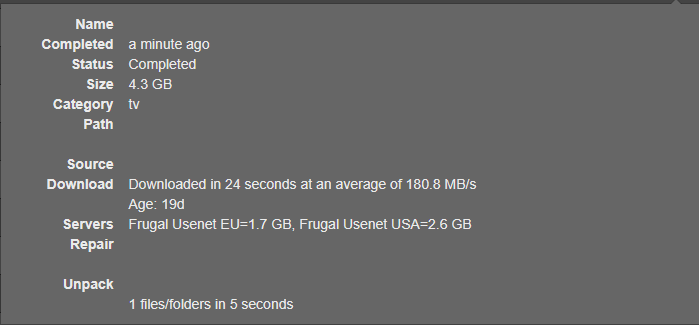
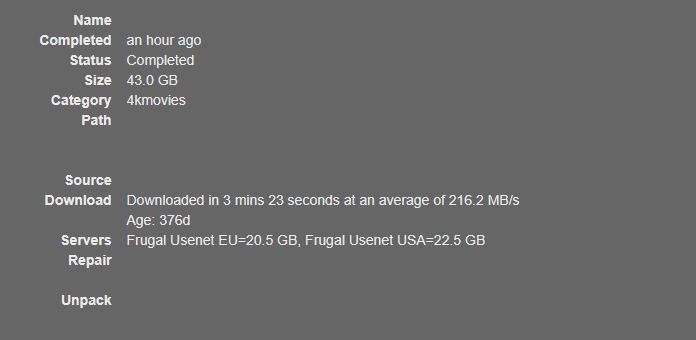
Ubiquiti released a 2.5 Gbps Gateway recently and I got one to upgrade aging Cloud Security Gateway. With it, I can finally use the full speeds of my Xfinity internet package. It claims a speed of 1200 Mbps down but with over provisioning , I am seeing 1380 Mbps down and 200 Mbps up. I wanted to download from Usenet at these speeds, but as this post shares, that took some work.
Unraid Filesystem
One of Unraid’s greatest strengths is its ability to pool multiple different sized hard drives together. Multiple mechanical hard drives and a single super-fast NVME SSD all magically combined into one to get the benefits of all. Files are first sent to the fast NVME drive and then moved to the slower but bigger mechanical storage. A system service called the Mover handles this movement.
Another piece of the puzzle is the FUSE filesystem. This uses software to make all of the various hard drives appear as one. This works fine most of the time under normal circumstances. It can become a bottleneck though as the server needs to do extra processing every time it stores or accesses a file. In Unraid you can bypass or use the FUSE Filesystem depending on which directory you access.
/mnt/user/ - Uses FUSE, contains the contents of all of the data disks and cache disk
/mnt/disk*/ - Does not use FUSE, is the contents of each individual disk
/mnt/cache/ - Does not use FUSE, directly accesses the Cache Drive.
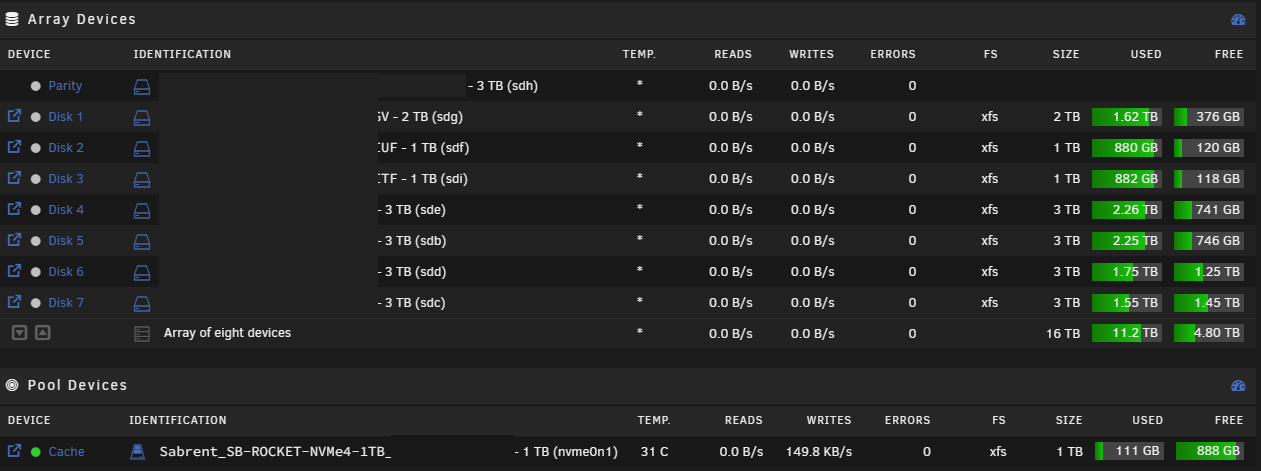
Directories Referenced in the Rest of this Post
/media/ - My Media Share, holds all of my TV shows, Movies, etc. This is also where Sabnzbd downloads to. By having Sab download to the same share the files will stay in, moves are instant.
/media/0Downloads/ - This is where Sab downloads to, completed downloads are then moved to /media/Movies or /media/TV Shows
/appdata/ - The default Unraid Appdata share, only exists on the cache drive to maximize speed. (Is backed up)
Exclusive Access in Unraid
In Unraid 6.12, a new feature was introduced: Exclusive Access. Basically, if an Unraid share exists exclusively on one disk, the FUSE filesystem can be bypassed for the entire share. This is perfect for the Appdata share that lives exclusively on the super-fast NVME drive. If you use apps like Sonarr, Radarr, etc, they benefit heavily from this change. To enable it, ensure a share only has data on the cache drive, Secondary Storage is set to None, and Permit Exclusive Shares is Yes in the Global Share Settings. I also enabled this for my domains and system shares to speed up my Home Assistant VM and my Docker Containers.

Make Sabnzbd Bypass the FUSE Filesystem
The exclusive access changes did speed up a lot of various things but not my Sab downloads. Sab downloads to my Media share to take advantage of instant moves. If I downloaded to an exclusive share, the download would then need to be moved into my media share anyway, taking more time.
Since Sab only needs to access the Media share while its downloading, it is possible to have it bypass the FUSE Filesystem. On the settings page for your Sabnzbd Container, replace /mnt/user/ with /mnt/cache for your download mounts. Do not do this for your config mount, that should be on your Appdata share and already benefiting from Exclusive Access.

This works great but once your mover runs, it will remove the files from the cache drive and your Sab container will no longer be able to write to the download directory. We can fix this with a custom mover script.
Custom Mover Script
We are going to use our own Mover script to pause Sabnzbd, run the mover, recreate our cache directories, and then restart Sab to make it aware of the directories. Pausing Sab lets us continue to add new jobs to Sab that will then get downloaded when the mover is finished. If an *arr app tries to add something during the brief time Sab is restarting, it will just attempt again after the restart.
We will need 2 Unraid plugins. Mover Tuning and User Scripts can both be found by searching on the Apps tab of the Unraid Web UI. Install both of them.
Go to Settings > Scheduler and scroll down to Mover Tuning. Change Disable Mover running on a schedule to Yes.

Next go to Settings > User Scripts. Click Add New Script and give it a name, I used Custom Mover. Press the Terminal button top right in the Unraid Web UI and navigate to the path it shows on the User Scripts page.

Once you are in the script directory type nano script. Paste in the following script by right clicking.
On lines 3 and 22, you will need to replace REPLACE-ME with your Sabnzbd API key and set your network address. You will also need to set your download directories below line 8. Mine are left in as an example. Change the name of the Sabnzbd docker container on line 16 if yours differs.
If you are on unRaid 7.0+ , line 6 needs to be: /usr/local/sbin/mover start
|
|
Press Control + C to exit Nano, when it asks you if you want to save , press Y then enter. Back in the User Scripts Web UI page, click the dropdown that says schedule disabled and set a schedule. Mine runs daily at 6AM using the custom option and a crontab entry of 0 6 * * *
Sabnzbd Tweaks
There isn’t too much to set in Sabnzbd, the defaults are great. Make sure you set your line speed in general settings, and I set Article Cache Limit to -1. I have plenty of RAM and Sab never uses more than 1GB usually anyway. Direct Unpack should be turned on, same for Pause Downloading During Post-Processing.
Usenet Provider Config
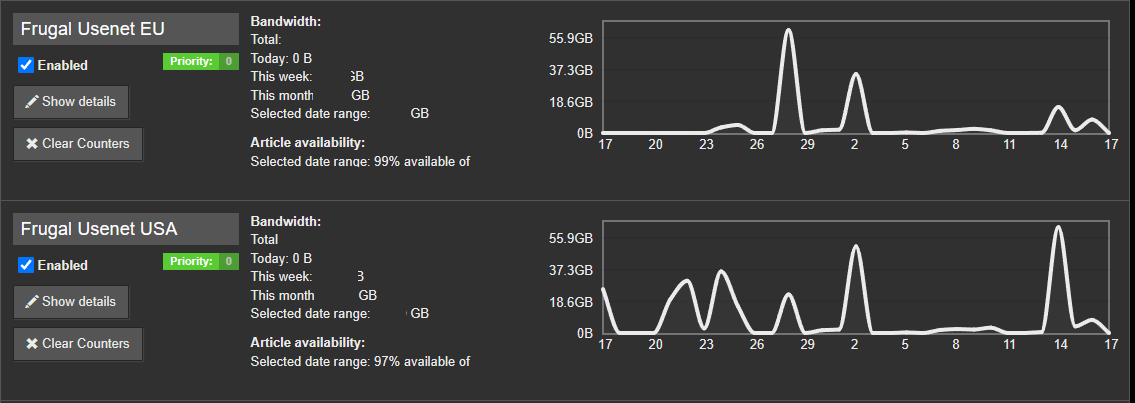
Even with all of the above changes, I was not reliably maxing out my download speed. I use Frugal Usenet as my main usenet provider. They are amazing and they also give you 1.5TB a month access to Usenet.Farm as a backup. While looking through their FAQ I noticed mention of using up to 100 connections. If you have an account with them, there is a different setup guide located in their billing portal, it contains this paragraph:
You May Use Up To 100 Total Connections To Access These Servers - Average Users Should Use Between 40-50 Connections For Optimal Speeds. Increase or decrease this amount for faster or slower line speeds from your ISP.
— https://billing.frugalusenet.com/page/newsreader
With this in mind, I setup both the EU and USA servers in Sabnzbd and set both to priority 0 to use both at once. I set both of them to use 49 connections. I have found that fully maxing out connections can cause errors sometimes if Sab opens and closes connections too fast.
Results
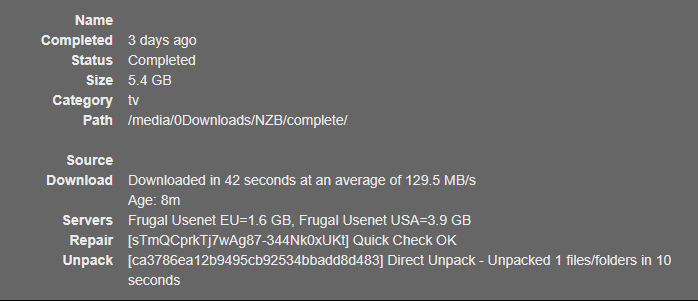
Update 7/27/2024
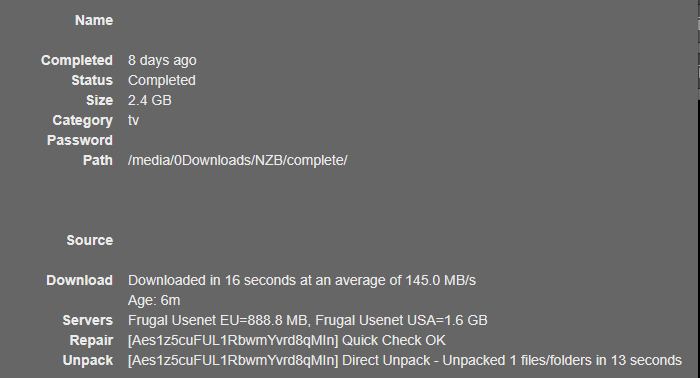
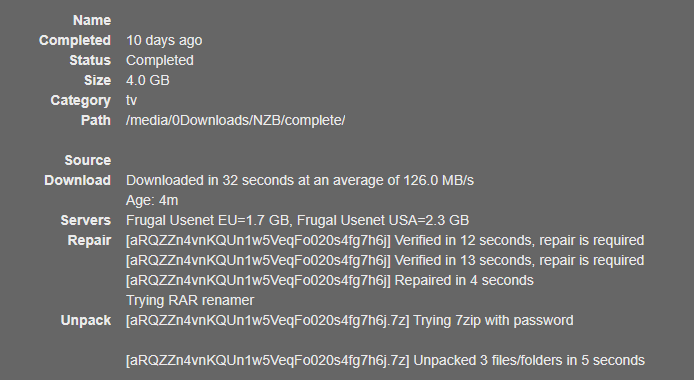
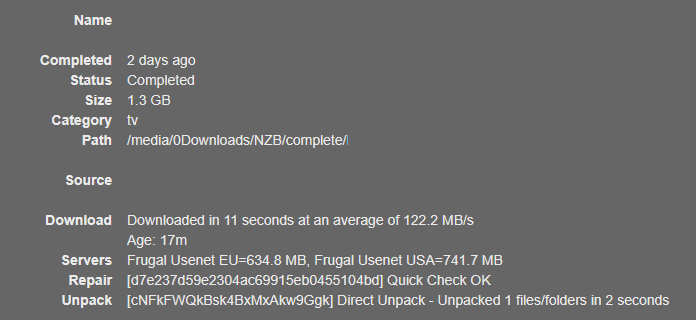
It appears Comcast has increased my internet speeds again, and the work done here is now working just as well at up to 2 Gbps.

