Introduction
Using Aurora, and also sometimes OpenRGB, we can let games control your computers lighting. The only requirement is that your lights are plugged into your computers motherboard and not an external RGB controller. If you can change your PCs lighting/color with a button on your tower, this guide probably won’t work for you.
Aurora
Installing Aurora
Aurora can be downloaded here, select the latest version, the file that contains Aurora-setup in its name. Run the file that downloads and install should be straight forward. An auto-updater was recently added, so keeping the software up to date is very easy. You will get a popup a login when its time to update, just follow the prompts.
Configuring Aurora
Once it is installed you will need to make sure all of your RGB devices are detected. Open Aurora from your start menu. On the left side of the window at the very bottom is a gear icon. Click it.
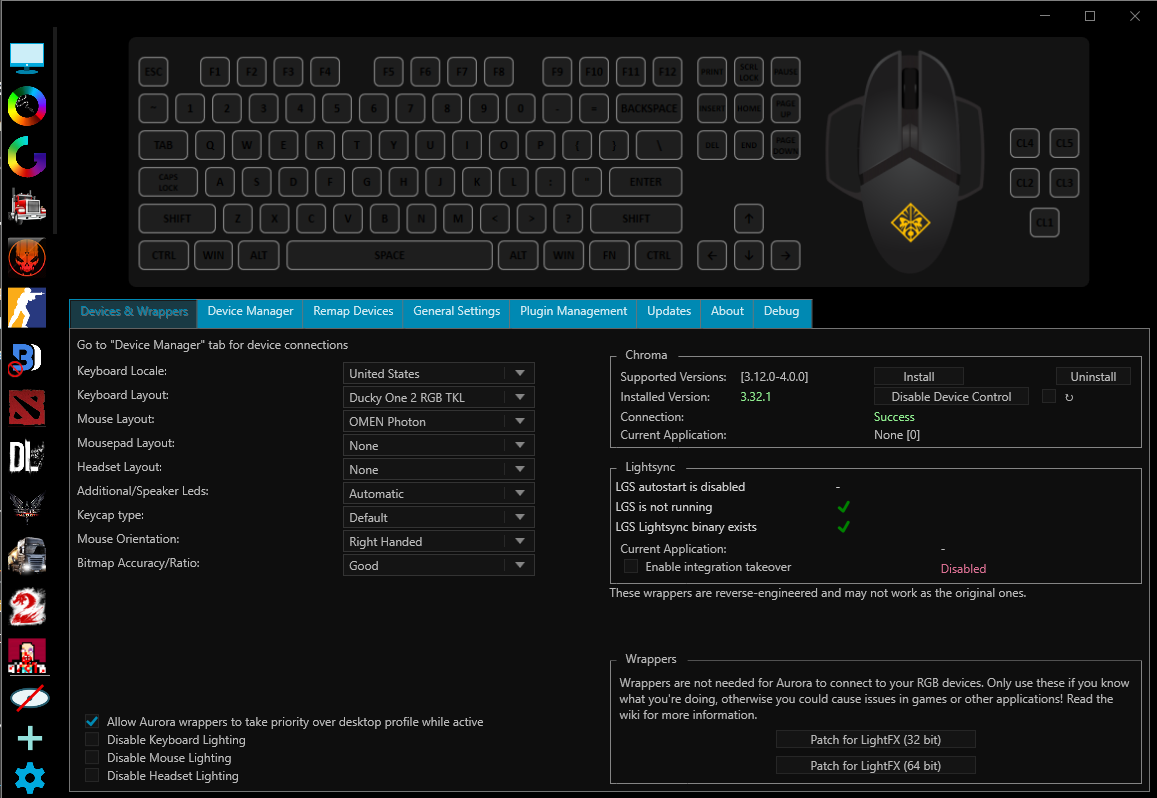
In Devices & Wrappers setup your keyboard locale and a layout (if you don’t see your keyboard just pick one that looks close).
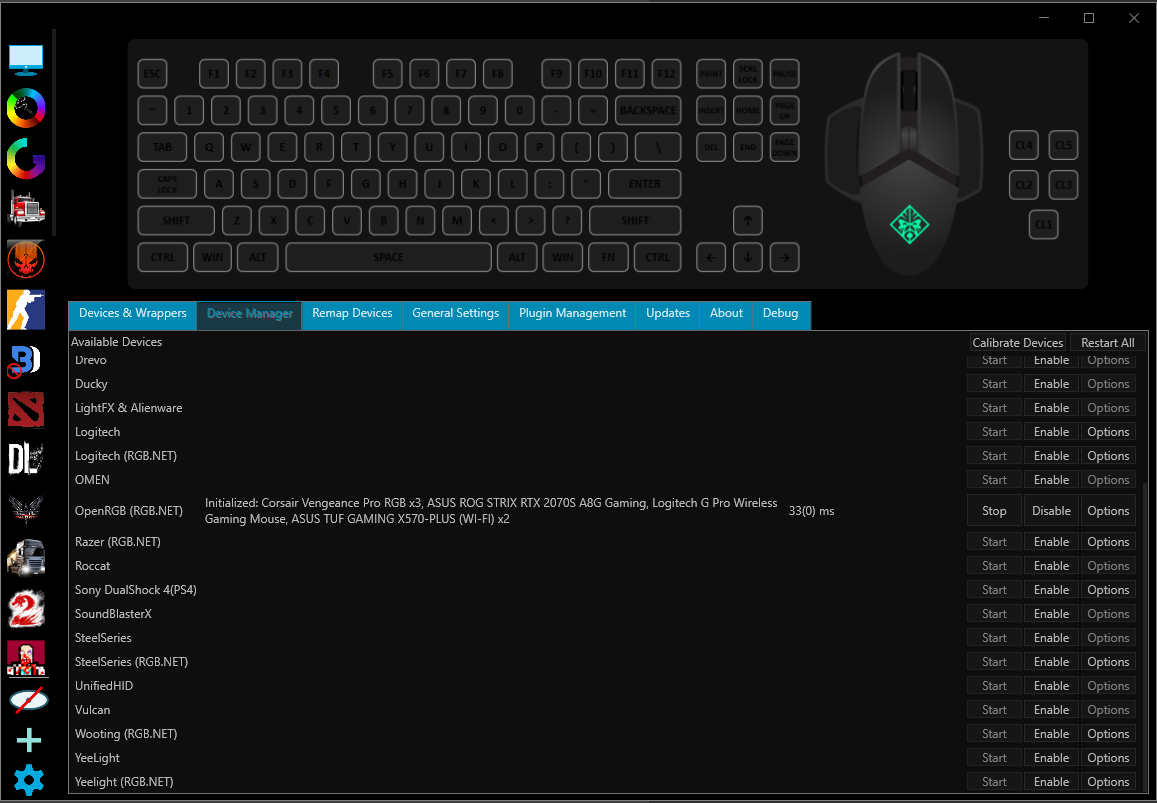
In Device Manager click enable for any company you have RGB devices from. For example if you have a Corsair Keyboard, enable Corsair. If you have a Logitech mouse, enable Logitech, etc. I recommend disabling all of the options you don’t use. Note, I use OpenRGB, so the devices enabled in my screenshot will look different than yours.
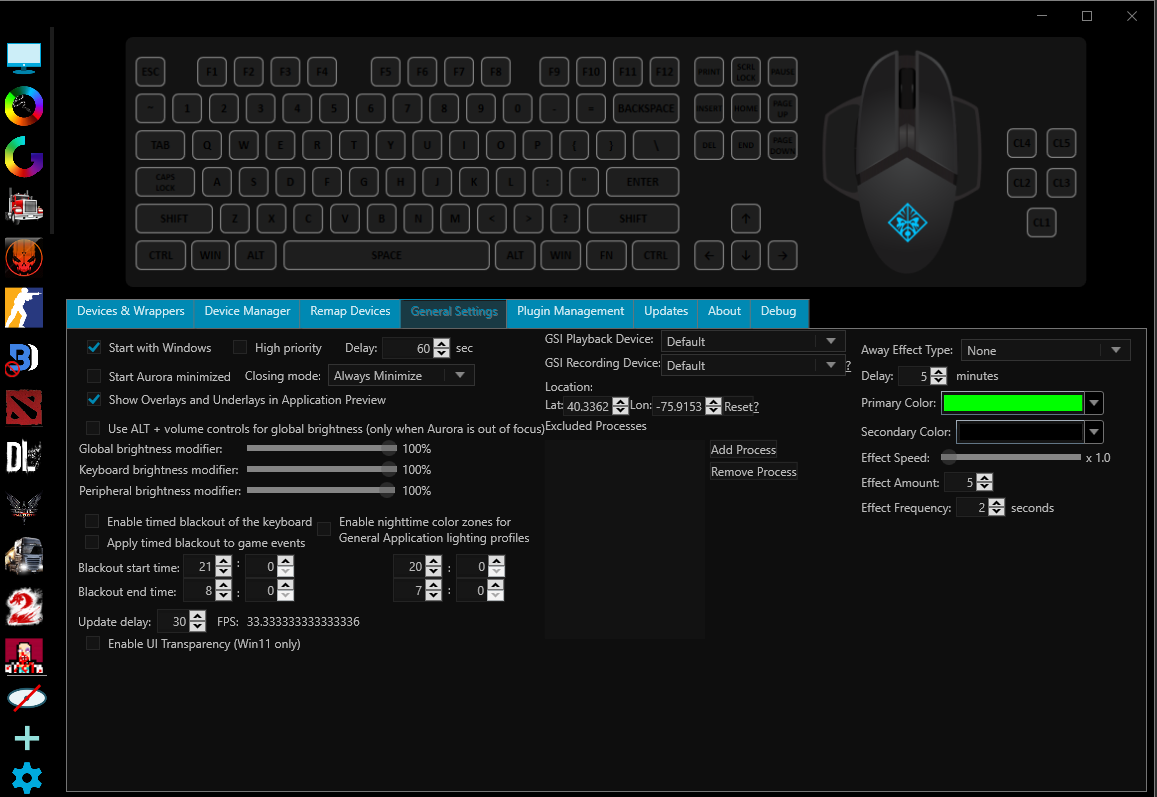
In General Settings make sure Start with Windows is checked and set Delay to 60 seconds.
Razer Chroma Support
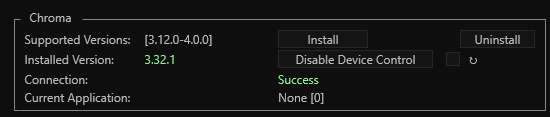
Some games like Overwatch 2 use Razer Chroma for their RBG support. We will need to install the Razer Chroma agent to be able to capture that lighting data. In Aurora’s settings, on the Devices & Wrappers tab there will be a section on the right called Chroma. If Installed Version is blank or red, Click Install to install a compatible version. When done, it should look like this
Setup Desktop Profile
Aurora needs to be running any time you are playing an RGB compatible game so its best to just leave it on all the time. If you do, you can change how your lighting looks when your not in game as well.
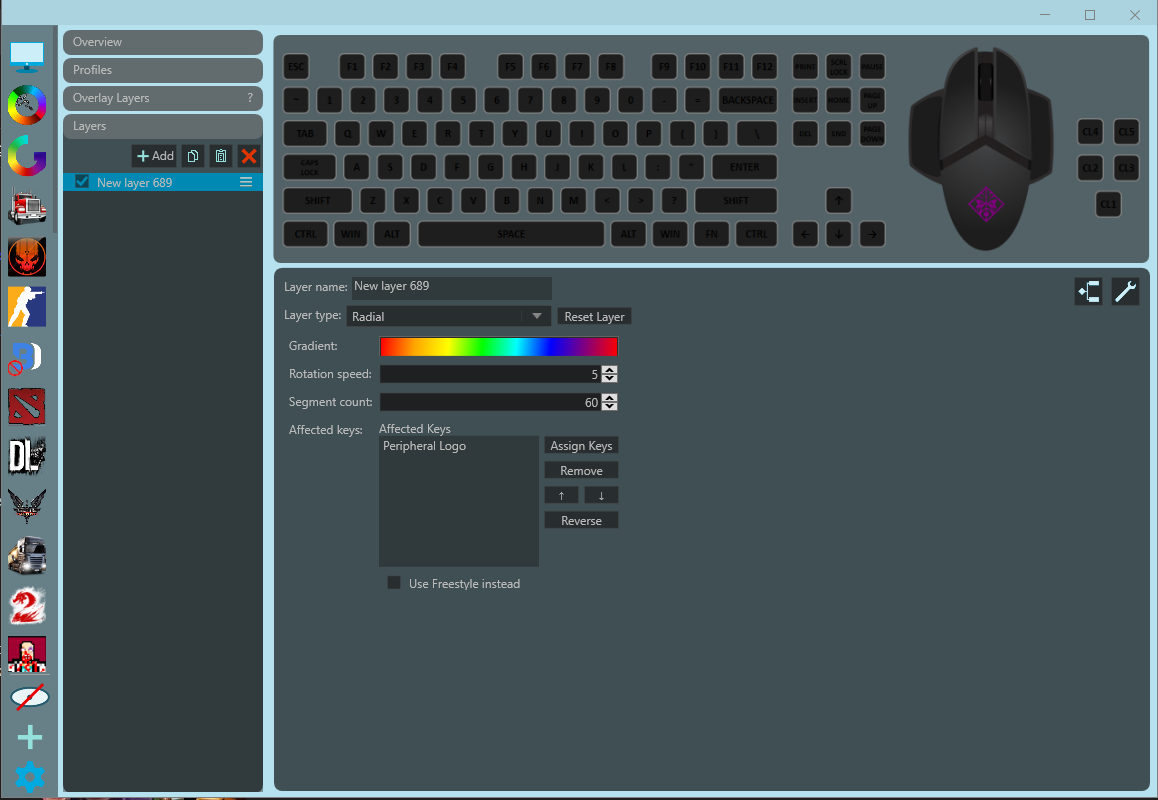
In Aurora, on the left side the very top icon should be a computer screen, that is the desktop profile. I use a Radial layer type, this gives me a slow color changing effect that isn’t too distracting.
Issues/Weirdness
If Aurora does not detect everything in your PC you can try the OpenRGB section below. It is not guaranteed to work and it is more advanced than just Aurora itself. If I sent you this post, check in with me before you go further.
Open RGB
If Aurora can not detect or control all of your PC’s lights, you can try OpenRGB. This program replaces programs such as Corsair iCue, Asus Aurora, and other manufacturers RGB control applications. If you install OpenRGB you will need to remove them. To check if your parts work with OpenRGB, check the Supported Devices list.
Uninstall Lighting Control Apps
Any existing apps you have that control RGB need to go, Corsair iCue, Asus Aurora, etc. I did leave Logitech G Hub installed as I need that for my racing wheel and it has not caused any issues.
Install OpenRGB
You can download OpenRGB here.If you are unsure on which version you need, select Windows (64-Bit). Unzip the download and move it to your Documents folder. Double click OpenRGB.exe to launch the application.
Commonly Missed
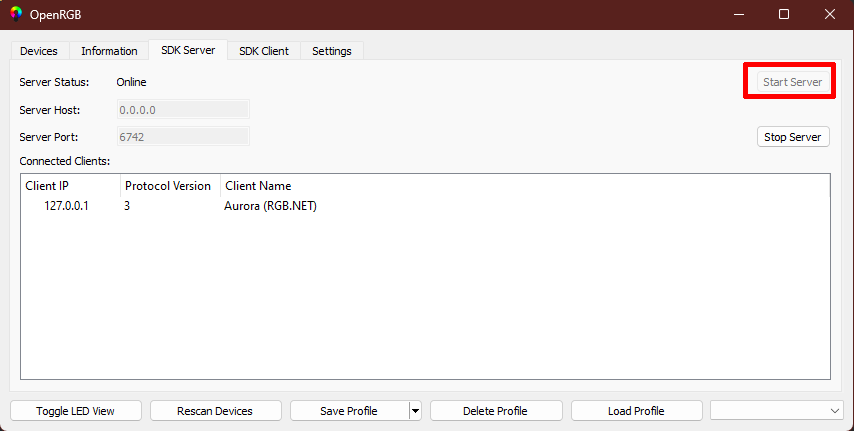
On first launch and any time you manually start OpenRGB you will need to go to the SDK Server tab and click Start Server or it will not communicate with Aurora.
Configuring OpenRGB
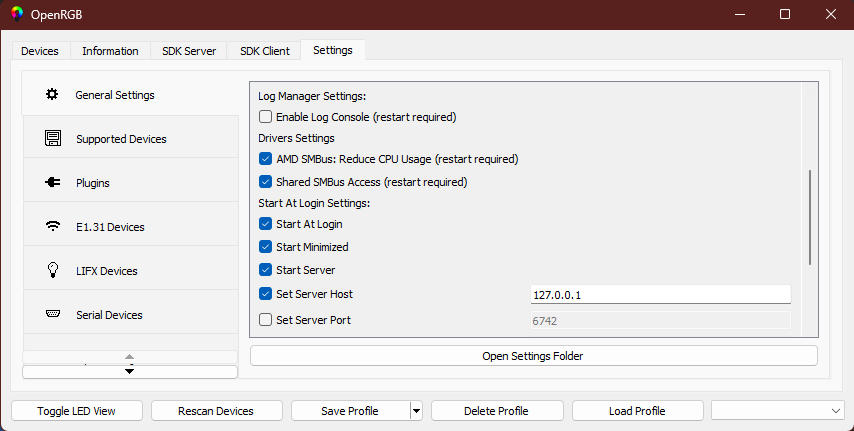
Once OpenRGB opens, click the Settings tab at the top. In General Settings make sure the following items are checked:
AMD SMBus: Reduce CPU Usage(ONLY IF YOU HAVE AN AMD CPU)Start at LoginStart MinimizedStart ServerSet Server Host(Put127.0.0.1in the text box)
If any of your devices are acting weird, you can disable them by going to the Supported Devices tab and disabling them there.
General Usage
OpenRGB will talk to all of your RGB devices. You enable the SDK server and then Aurora will talk to OpenRGB. Once you enable the OpenRGB plugin in Aurora’s Settings, Aurora will be able to control everything OpenRGB can.
Final Notes
RGB software can be very finicky. OpenRGB is trying to fix that but it is a slow and long process. The chances of running into issues are very high. Feel free to reach out to me if you get stuck, need help, or something isn’t working.
CPU usage is commonly stated as a reason you shouldn’t bother with RGB control software. In my experience there is almost no cpu load from it. With both Aurora and OpenRGB running they account for less than 2% CPU usage on my Ryzen 3600. On top of this, most modern games are bottlenecked by the GPU anyway.